Try These 5 Street Photography Tips


In life, everything happens so fast all at once. It's hard to catch your breathe with everything that happens everyday. Now imagine trying to capture those moments with your camera; that's street photography for you. It can be difficult at first, but definitely not impossible. In this video, we are going to be talking about tips to help you with your street photography. I will be roughly covering these topics so if you would like a more in depth video of a topic, let me know in the comment section below. I hope you leave this video with some new information that'll help or inspire you for your next shoot.
Tip 1: Have anticipation
I'll be the first to say this: with street photography, you definitely need luck with how fast the world moves. Having the correct subject, lighting, frame, etc to get what you want is difficult to have all at once, but we can at least try to make it easier for us by having anticipation of people's movements/waiting, having knowledge of the area we're photographing in, etc. In this section specifically, I will focus on anticipating people's movements. There are quite a few things that will help with anticipating their movements. First is their movement patterns. Where are they heading towards? How fast are they walking? Is there chance their direction changes aka crossing the street? Then I ask myself: Where do I need to be to capture what I want? After those series of questions, I quickly try to get into position and I wait if necessary and hopefully I was right. If I'm not, then I make the decision of whether I wait for another subject or I continue on with my walk.
Tip 2: Pay attention to lighting
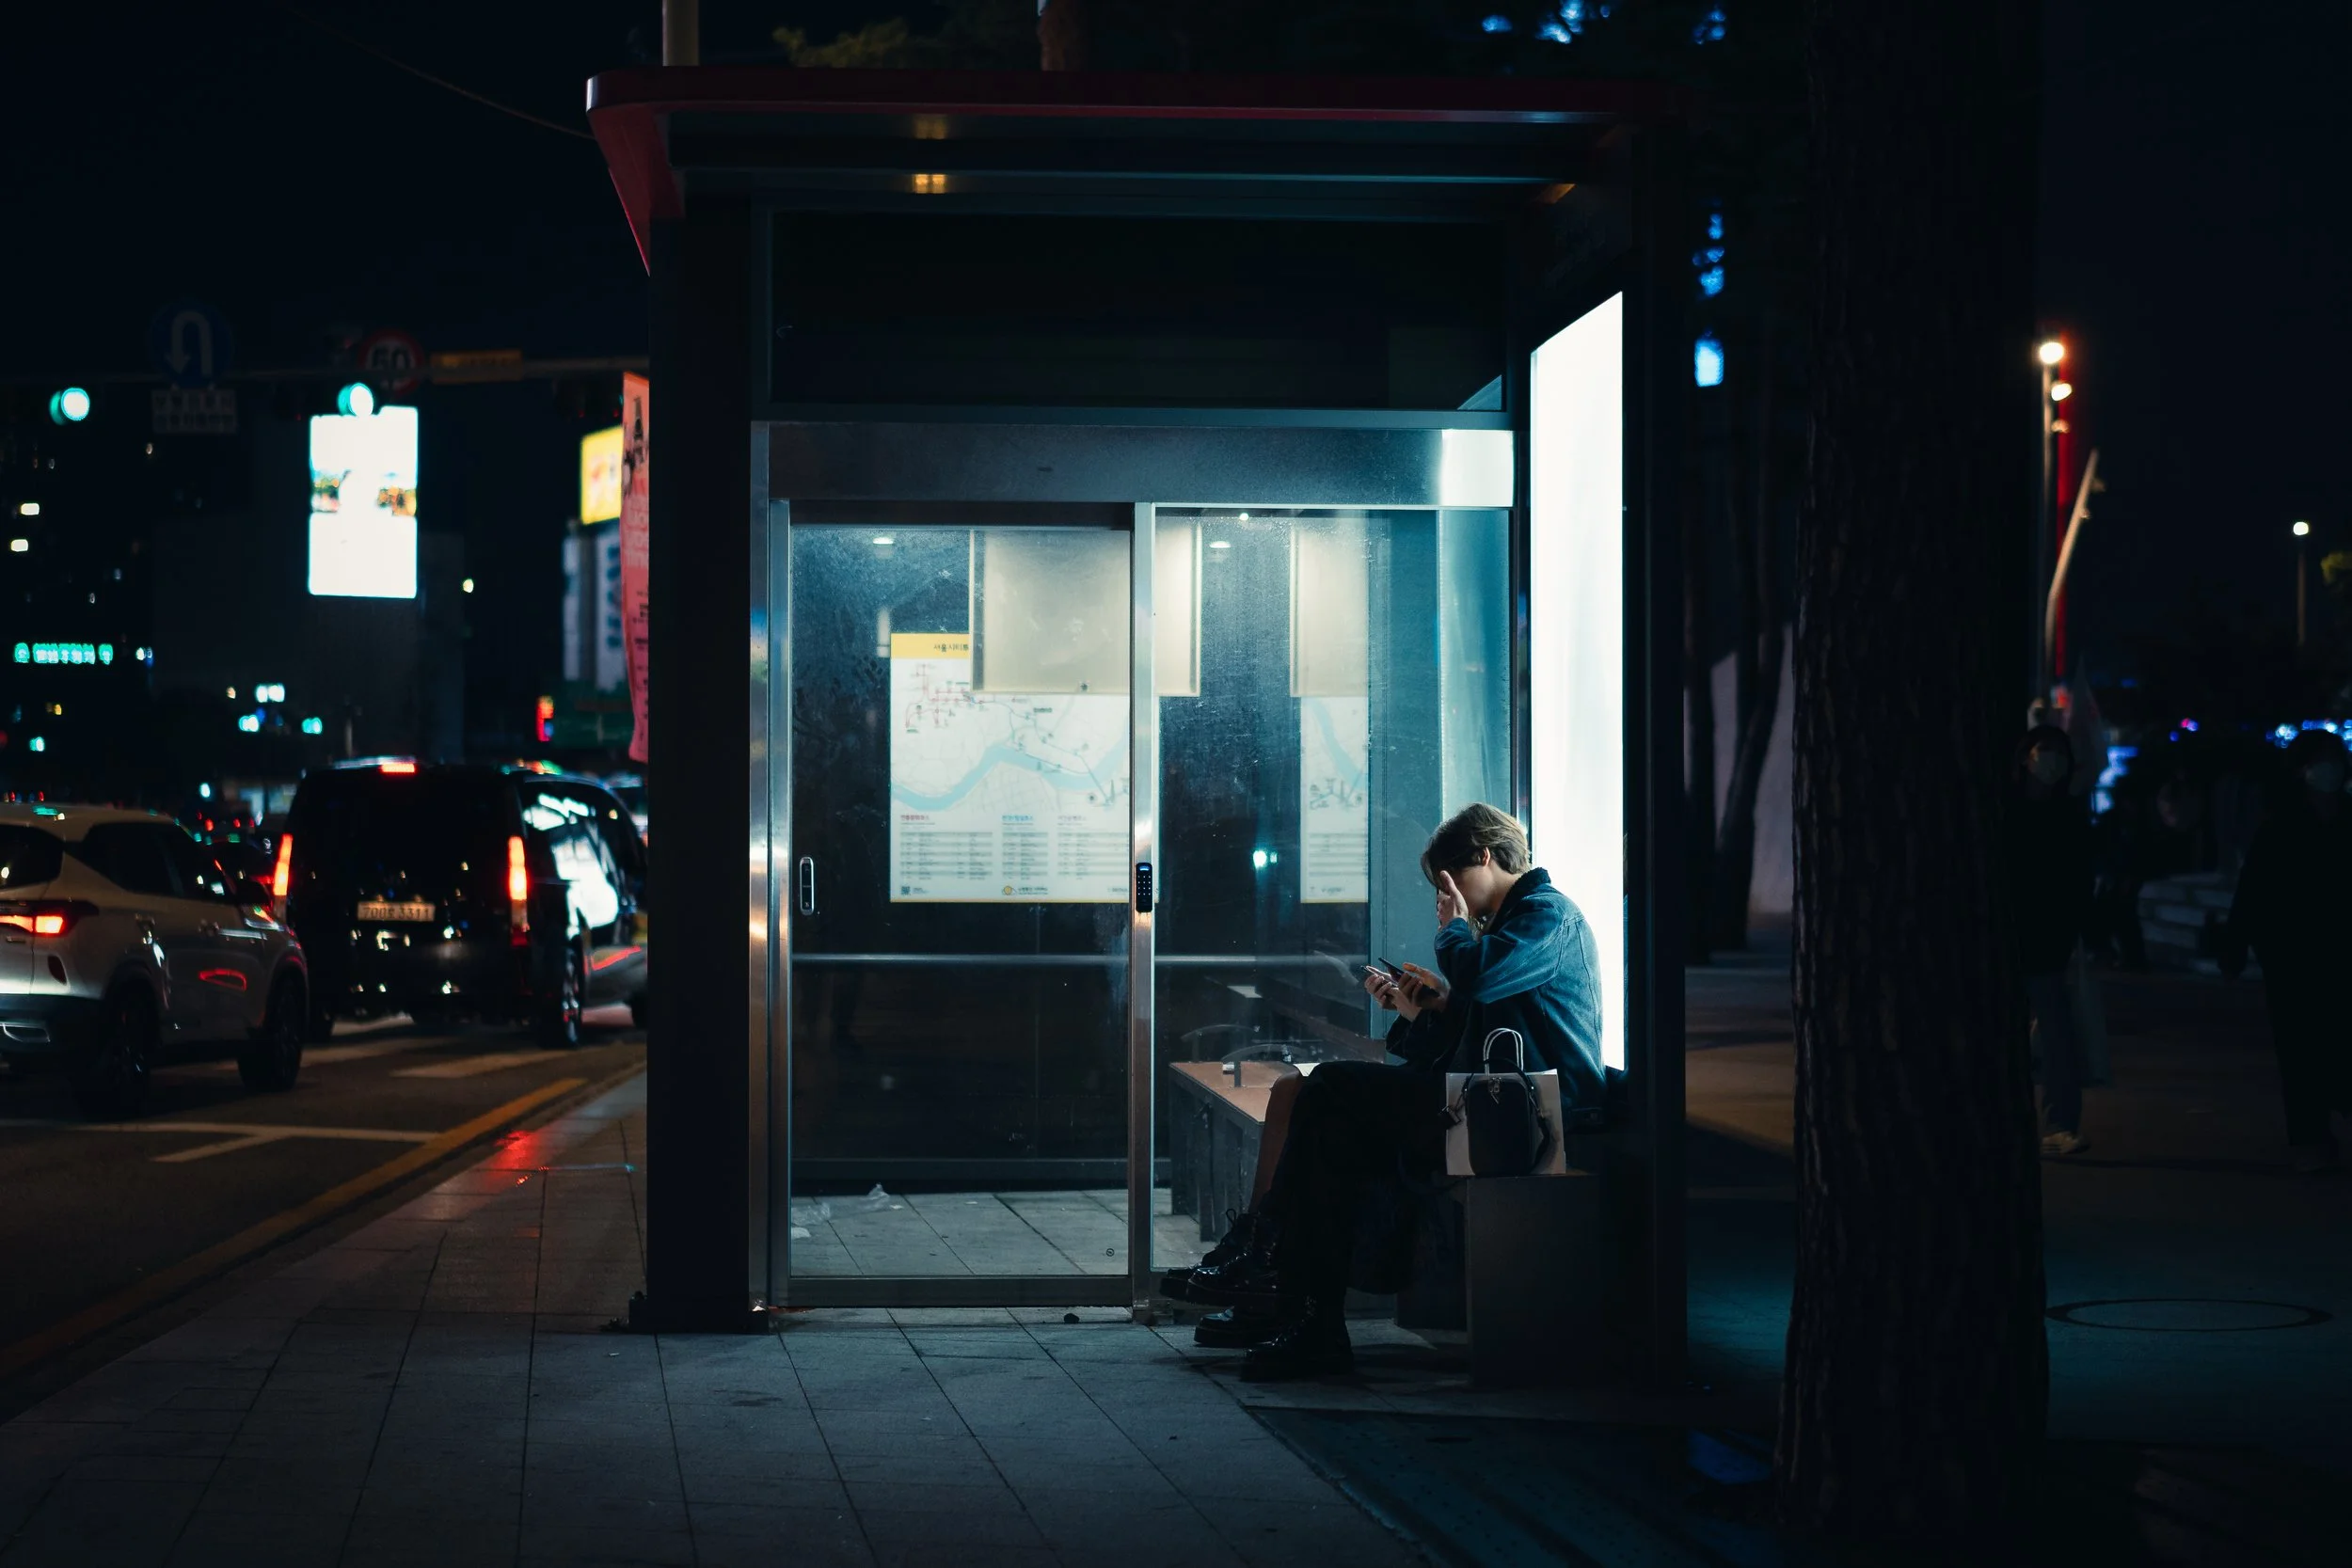
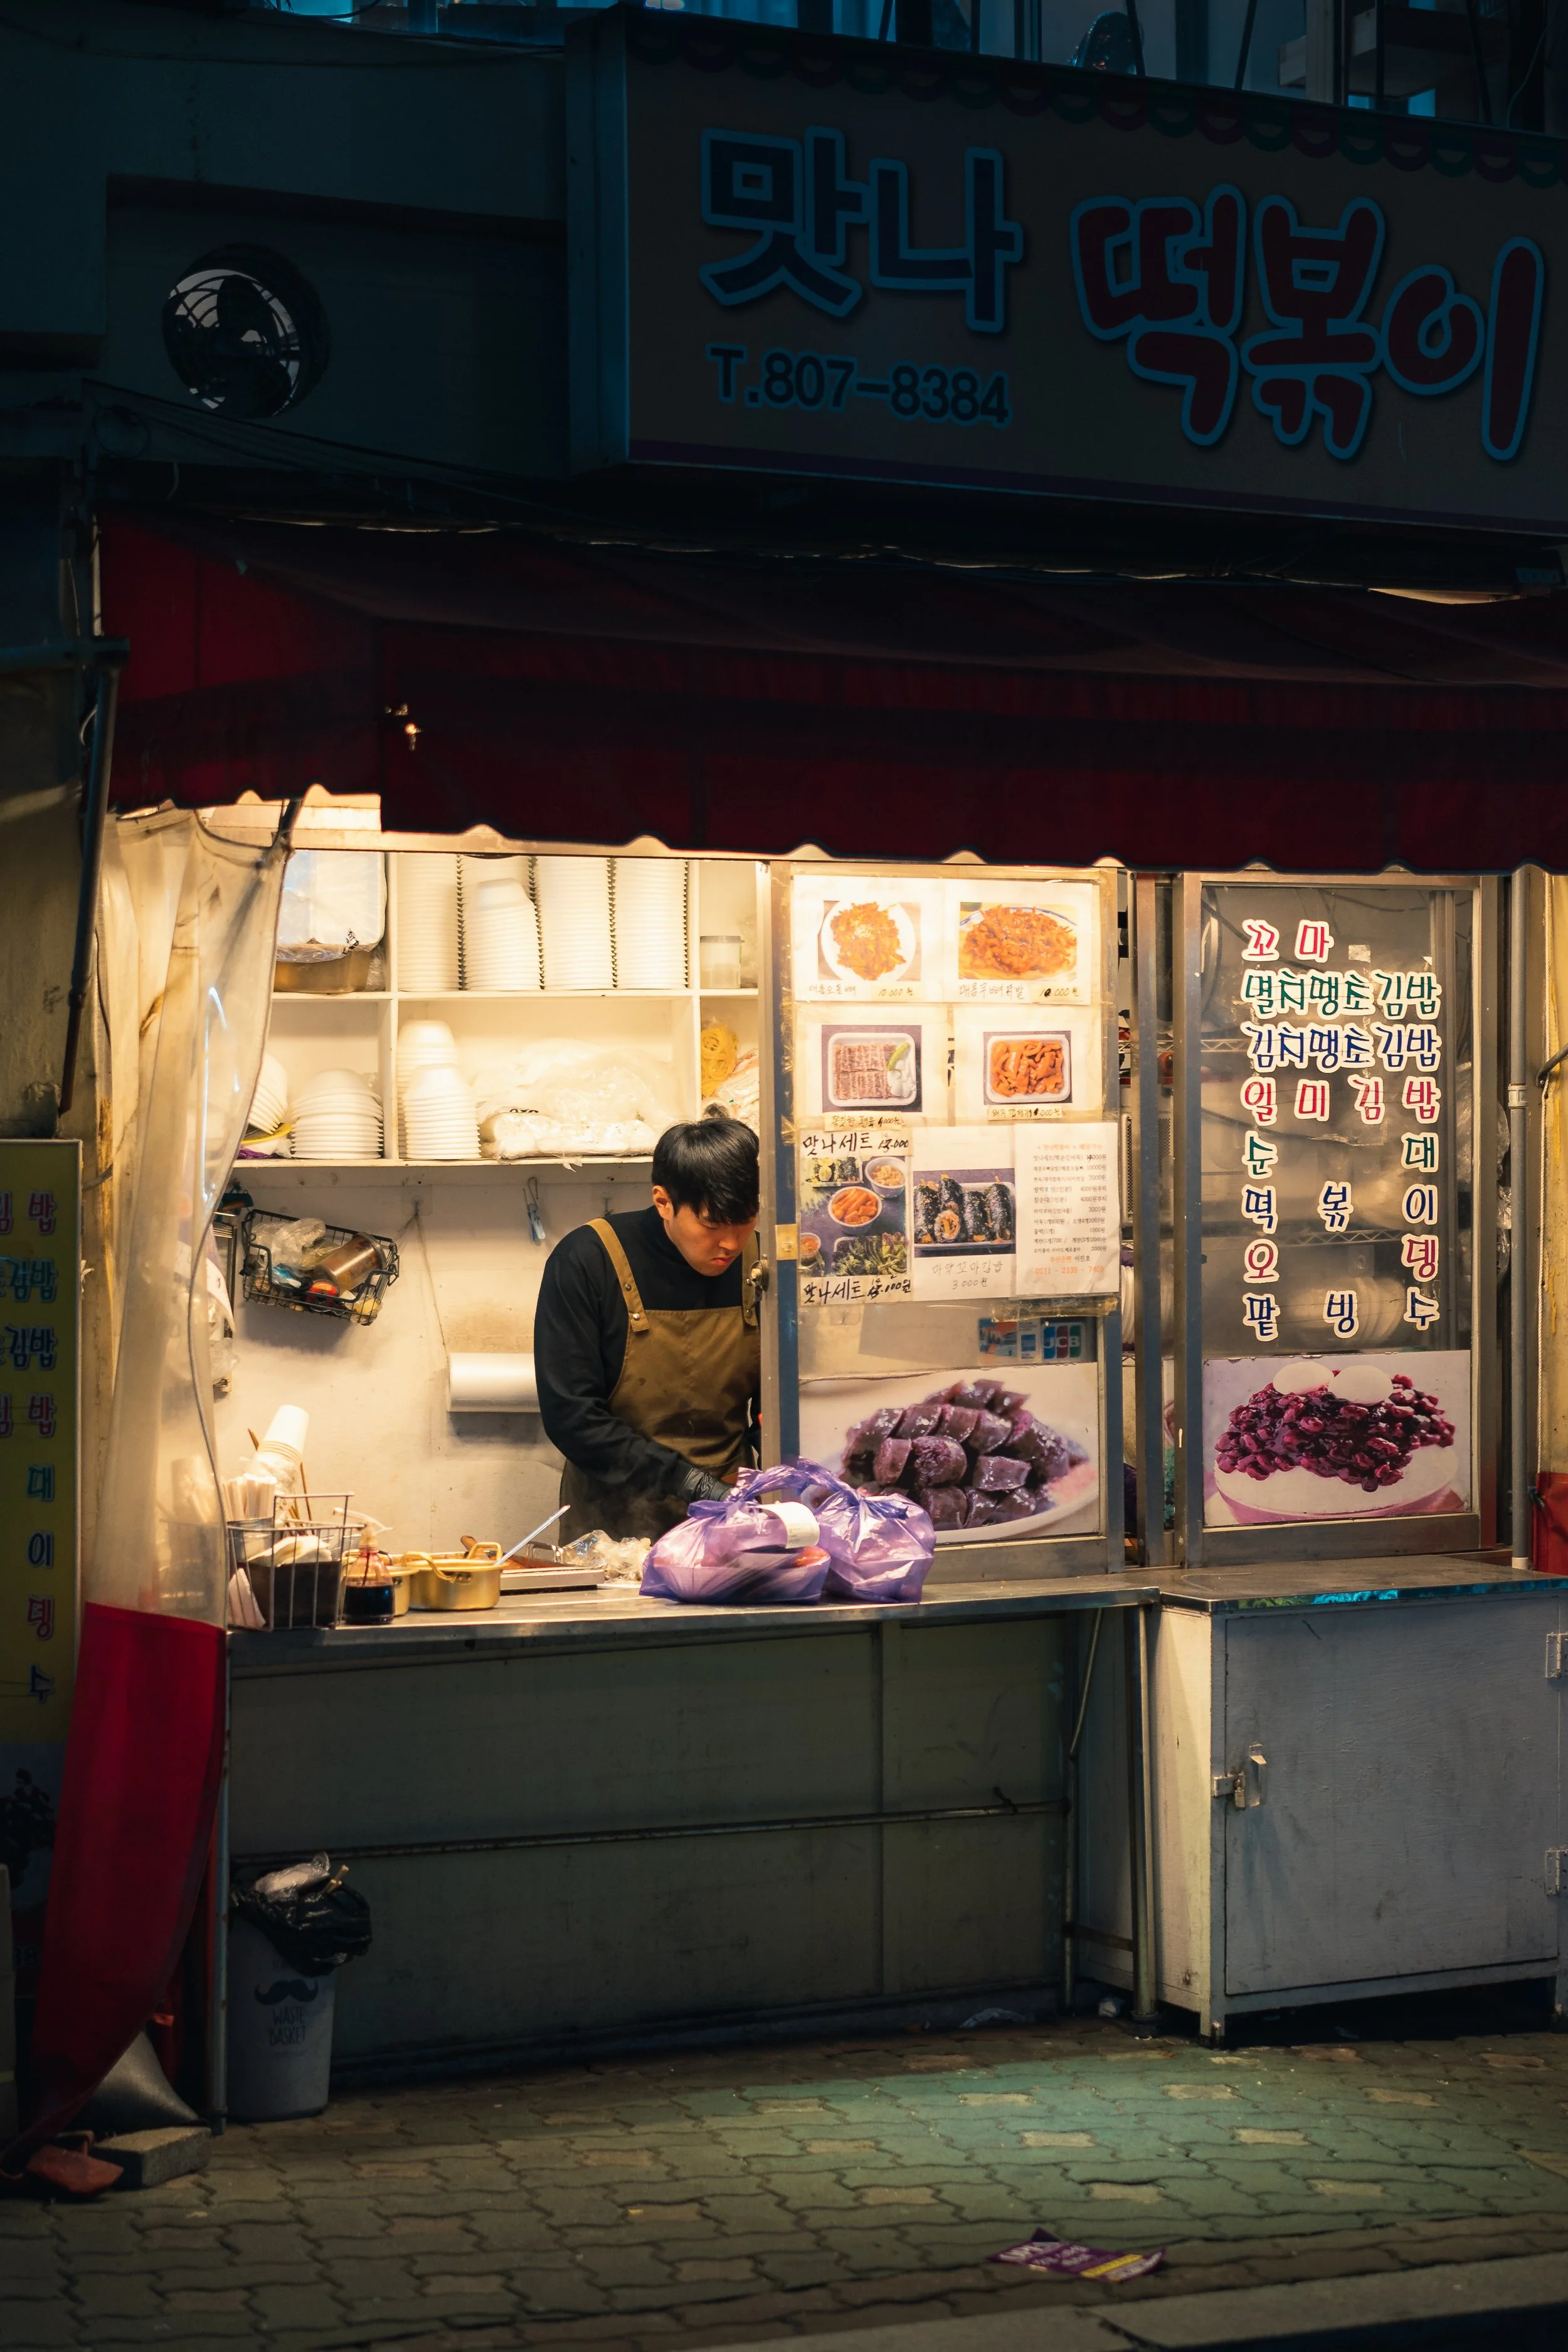
Lighting is one of, if not, the most important thing in photography. You can have the greatest subject in the world, but with poor lighting, it won't be able to live up to its potential. Whereas the opposite, you can take a picture of a random thing on the street, and with the type of lighting on it, you can drastically change how one looks at it. The lighting I will discuss in this section is about how light hits your subject. You can separate it into 3 categories: frontal lighting and back lighting, and side lighting. With back lighting, you can use it to make your subjects into a silhouette figure. This can help mask your subject's face to make them feel more mysterious. Along with silhouettes, back/side lighting can add a cinematic feel to the photo. It separates the background from your subject, adding more depth to your photo. With side lighting more specifically, it shows more texture as the areas of the subject aren't evenly lit thus giving you that 3D feel. In general, I try to shoot with these types of lighting in mind the most for these reasons alone. With frontal lighting, the lighting makes the image look flat generally. Your subject has to really be different to stand out from the background. I like having my subject lit differently to express how I want the photo to be seen.
Tip 3: Shoot in Aperture priority
I shoot with aperture priority 99% of the time because it gives me control of the aperture while letting the camera set the shutter speed based off of that. Controlling my ISO and aperture, while letting the camera control the shutter speed, makes it that much easier to focus more on photo rather than the settings. Even when doing handheld 1-2 sec exposures, I'll still have my camera in aperture priority. The technology is smart enough to get the exposure down so why not use it? I trust my gear enough for that. (I never use shutter priority and I'll only ever use manual if I 100% need to control everything) Depth of field is the most important aspect to control for me to ensure I can take the photo how I want it so that's the setting I need to actively change myself. If I don't want the depth of field to change, but I need to raise my shutter speed, I do that with my ISO. It's a very easy system that requires no second thought. I just raise my ISO or lower it and I can spend more time thinking about the composition of the photo I want to take. This actually brings me to the next tip.
Tip 4: Keep ISO at around 640
Keeping your ISO at around 640 lets you quickly adapt to changing environments. With street photography, conditions can change drastically in a hurry, whether its the change of weather on an overcast day or if we're going indoors. Having your ISO in that middle area around 640 gives us flexibility in case the lighting changes. I can't count how many times I have lost a potential shot because my shutter speed was too slow because I went indoors. Having our ISO in the middle area of 640 allows us to lower the ISO or raise the ISO to quickly adjust to the surroundings. The time it takes to adjust my ISO is all it takes to lose a potential shot so to negate that, just having it at 640 or so is a great way to combat that. You may ask though, isn't it bad to raise your ISO that high for no reason? The difference of 100 ISO to 640 ISO is so minuscule. At that point, it's not even worth a thought unless you really like looking at photos and guessing what ISO they were taken at. Personally, I'd rather not mess up a shot due to a slow shutter speed and just raise the ISO.
Tip 5: Enjoy the process
Have fun. Think hack to why you began photography in the first place. Focus on the process and not getting "bangers". This will have a feedback loop effect and allow you to eventually get those "bangers". The more you enjoy the process of photography, the more you'll go out. The more you go out, the more likely you'll encounter the special moments. It's really as simple as that. As previously said, street photography (as with other genres like landscape photography) is all about getting every moment to occur just as you want it at the same time. More times than not, that's not going to happen. That's just being realistic. Instead of seeing the end goal, try new things. Explore other areas of your city and try to see it in a different perspective. Focus on particular skillsets to focus on when going out such as focusing on color harmonization or framing subjects or symmetry. I'll be the first one to admit about my hometown LA. I don't think its the best city for photography. Not only does traffic suck, but the city itself isn't exactly to my liking. But I still enjoy taking photos in the city. And it's totally fine if you don't get anything for that particular shoot. You're outside the house and you got your steps in. That's already a good accomplishment for the day!
Whatever it takes to get yourself out and shooting, do those things and you'll have more chances of getting those "bangers". Whatever it is, just get out there and shoot. Until next time...